
In my post about my crochet marathon, I promised to write about each of the featured crochet works I made. They say promises are made to be broken but here I keep my promise. Let me start with this...
 |
| My Flower Corsage |
THE MAKING...
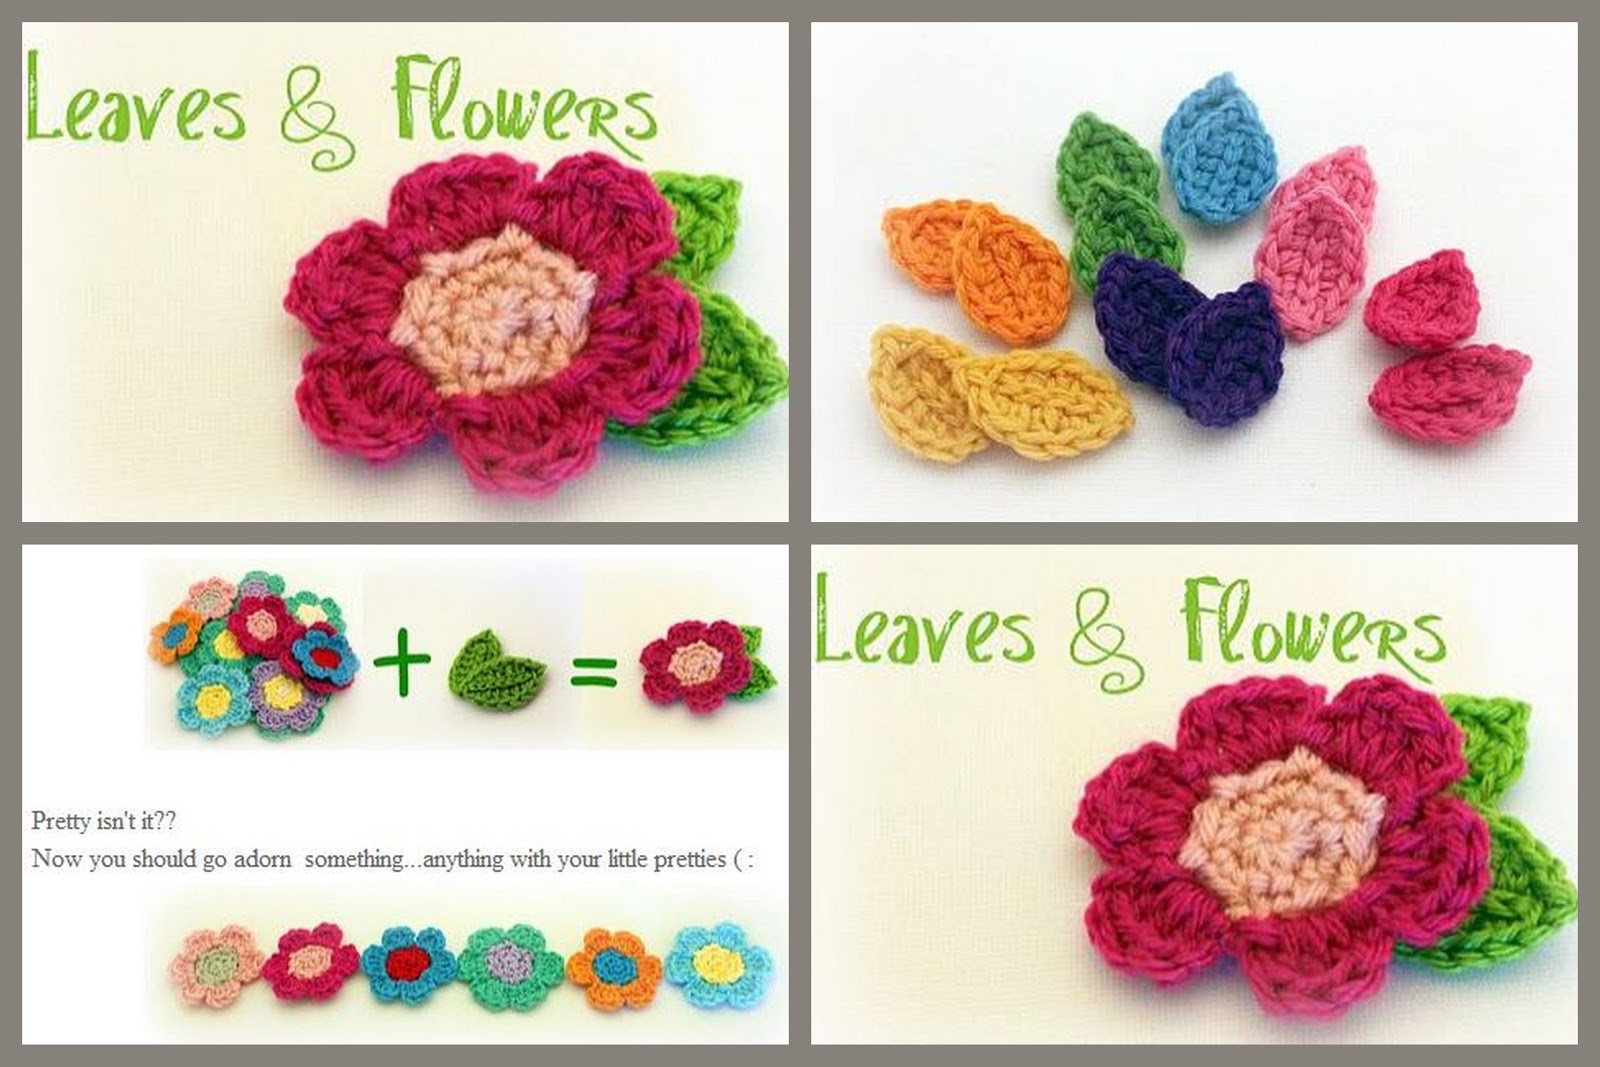
For this crochet project, I used Tara Murray's pattern from Leaves and Flowers. The patterns for both flowers and leaves were very easy to follow in that both involved just a few steps.
In making the flowers, I enjoyed choosing and deciding which colors would make a good combination. I also had to consider the color preferences of the persons to whom I would give the corsage. There were only 6 rounds in the making of a larger flower (4 rounds for a smaller one) so that in a very short while you are done making a number of flowers.
 |
| Two-layered flowers (small and large petals) |
Now for the leaves, Tara's instructions include an easy-to-follow step-by-step tutorial which I loved each step along the way. Working on a combination of sc, hdc and dc repeatedly with every leaf was like doing another rhythmic chant I also did in doing the Rainbow Coaster. Running a number of slip stitches along the middle of the leaf to create a vein (or midrib) was simply creative and something I found enjoyable. I challenged myself with each leaf I made by coming up with a better-looking leaf each time.
 |
| The making of the leaves |
After making a few sets of flowers and leaves in different color combinations, I was ready to do the finishing touches. This is usually the part I don't very much like doing ---weaving away the loose threads. Good thing that I was able to get a new set of tapestry needles. It made weaving the unwanted loose ends away as easy as 1-2-3!
To complete the project, the last step to making the corsage is adding a pin at the back of the crocheted flowers and leaves. In so doing, you need to adjust its direction to the desired position you prefer them to appear on your lapel.
 |
| Weaving off |
 |
| Attach the pin at the back of the flower and leaves to complete the project |
 |
| This is how the finished product would look like |
Presto, you now have another gift item for your friends, just like these????


Here they are, all packed and ready for distribution last December 2011.
Till next time! :)
Very pretty!! Wish you lived close to give me a lesson!
ReplyDelete